
DIY Candle Making Tips for Beginners
Share
Candle making is a wonderful hobby that not only allows you to create beautiful and aromatic candles but also provides a sense of satisfaction and accomplishment. Whether you want to make candles for personal use or as gifts for friends and family, this guide will help you get started with some easy DIY candle-making tips for beginners.
Essential Supplies
To get started with candle making, you'll need a few basic supplies:
1. Wax: The most common types are paraffin, soy, and beeswax. Soy and beeswax are natural options that burn cleanly.
2. Wicks: Choose the right wick size for your candle. Cotton wicks are popular for their clean burn.
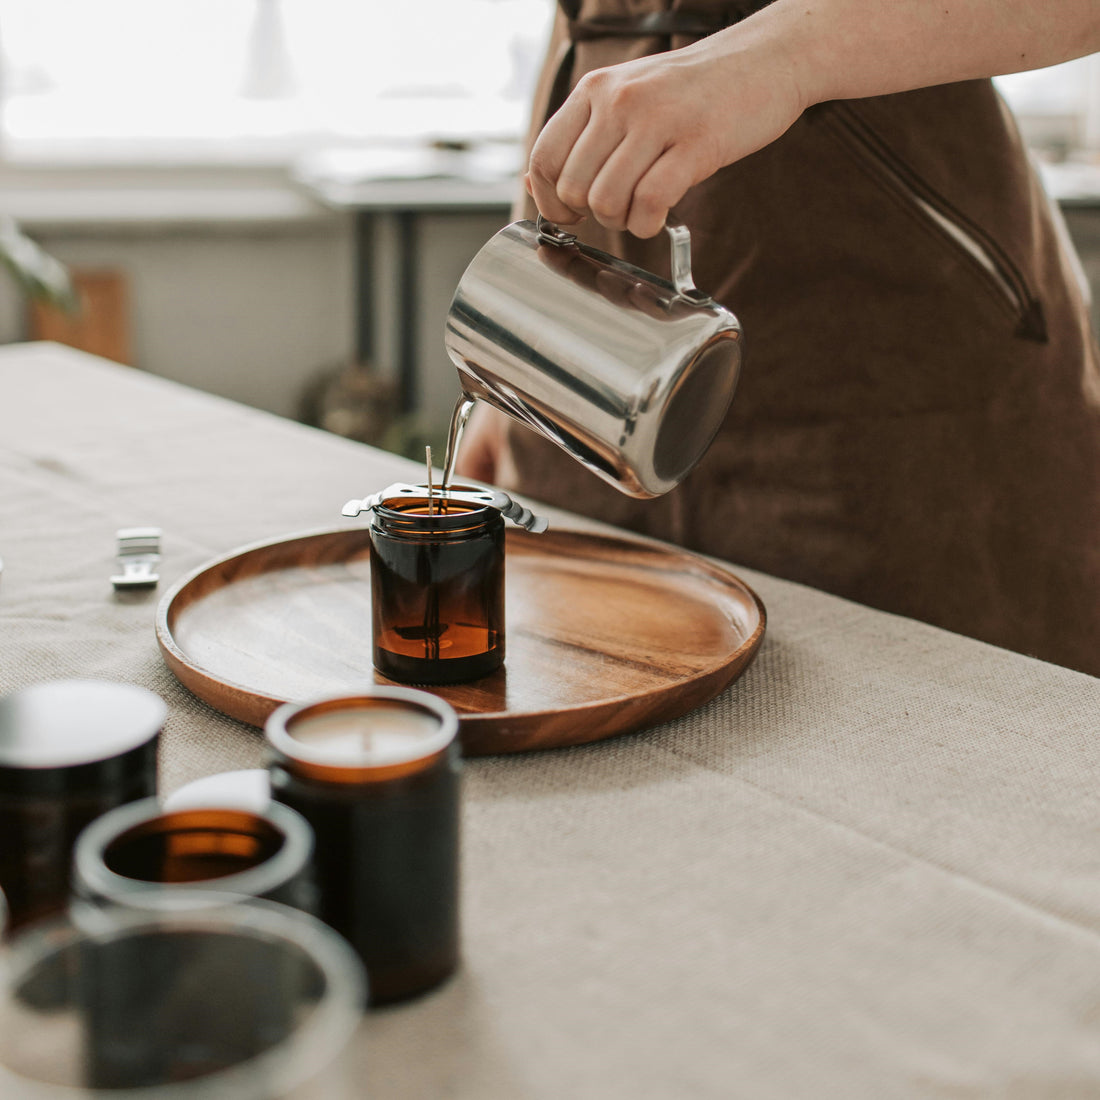
3. Containers: Use heat-resistant containers like glass jars or metal tins.
4. Fragrance Oils: Add your favorite scents to personalize your candles.
5. Colorants: Use candle dyes or natural colorants like herbs and spices.
6. Double Boiler: For melting the wax safely.
7. Thermometer: To monitor the wax temperature.
8. Stirring Utensils: Wooden or metal spoons work best.
9. Wick Holders: To keep the wick centered while the wax sets.
Step-by-Step Candle Making Process
Follow these simple steps to create your own candles:
Step 1: Prepare Your Workspace
Ensure your workspace is clean and well-ventilated. Lay down some newspaper or an old cloth to catch any spills.
Step 2: Measure and Melt the Wax
- Measure the amount of wax needed for your container.
- Melt the wax using a double boiler. Keep an eye on the temperature and heat the wax to about 170-180°F (77-82°C).
Step 3: Add Fragrance and Color
- Once the wax is melted, remove it from the heat.
- Add your desired amount of fragrance oil (typically 1 ounce per pound of wax) and stir well.
- If you're using colorants, add them at this stage and mix thoroughly.
Step 4: Prepare the Container
- Place the wick in the center of the container. Use a wick holder or tape to keep it in place.
- Preheat the container slightly by pouring a small amount of melted wax into it and swirling it around. This helps prevent cracking.
Step 5: Pour the Wax
- Slowly pour the melted wax into the container, leaving a little space at the top.
- Allow the wax to cool and harden. This can take a few hours.
Step 6: Trim the Wick
- Once the candle has completely set, trim the wick to about ¼ inch.
Tips for Success
1. Temperature Control: Always monitor the temperature of the wax to avoid overheating.
2. Wick Size: Choose the right wick size to ensure an even burn and avoid tunneling.
3. Fragrance Strength: Start with a small amount of fragrance oil and adjust based on your preference.
4. Patience: Allow the candles to cure for a few days before burning them to enhance the scent throw.
Safety Precautions
- Never leave melting wax unattended.
- Use a dedicated pot for candle making to avoid contaminating your kitchen cookware.
- Keep children and pets away from the workspace.
Conclusion
Making your own candles can be a fun and fulfilling hobby. With these DIY candle-making tips for beginners, you can create beautiful, personalized candles to enjoy or gift to loved ones. Remember to experiment with different scents, colors, and containers to discover your unique candle-making style.
Happy candle making!